
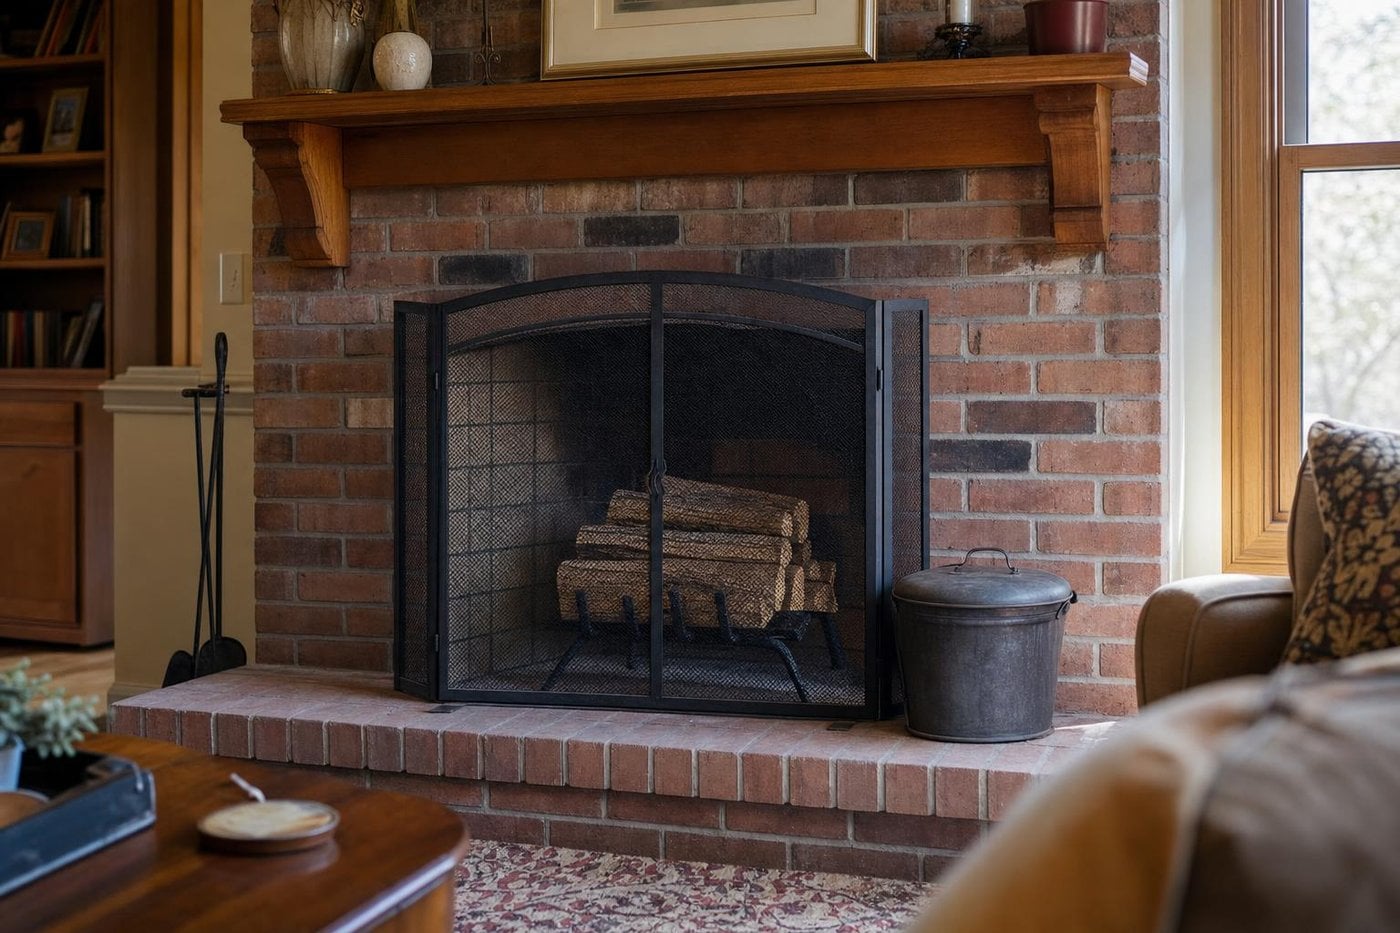
The first fire of the season feels like a reward for making it through the warmer months. You stack the wood, open the damper, and strike a match. What most people skip, though, is everything that should happen before that moment.
Chimneys and fireplaces sit idle for months. Birds nest in caps. Creosote bakes onto flue walls. Dampers corrode. Smoke and carbon monoxide alarms lose their charge. None of that is visible from the couch, and all of it matters before you add heat to the equation.
The seven checks below are drawn from guidance published by the National Fire Protection Association (NFPA), the U.S. Fire Administration (USFA), the Consumer Product Safety Commission (CPSC), the EPA’s Burn Wise program, and the Chimney Safety Institute of America (CSIA). Run through them now, before the temperature drops far enough that you need a fire in a hurry.
1. Schedule Your Annual Chimney Inspection
The NFPA recommends that chimneys, fireplaces, and vents be inspected at least once a year and cleaned as needed by a qualified professional. That recommendation applies whether you burned wood every night last winter or only lit two fires total. The inspection is not just about how much you used the fireplace. It is about what may have changed while you were not using it.
A qualified inspector looks at the flue liner, the smoke chamber, the firebox, the connections, and the exterior masonry. They can spot cracks, deterioration, or obstructions that are impossible to see from inside the room. The CSIA offers a certification program for chimney sweeps, so looking for a CSIA-certified sweep is one reliable way to find someone with verified training.
What to do: Book an inspection before the first fire of the season, not after you smell something wrong. If you burned wood regularly last winter and have not had the chimney cleaned since, ask the sweep to combine the inspection with a cleaning visit.
2. Check for Creosote Buildup
Every time wood burns, it releases gases and particles that travel up the flue. As they cool against the flue walls, they condense into creosote, a black or brown residue that can be flaky and loose, tarry and sticky, or hardened and glazed depending on how much it has built up and how hot past fires burned. All three forms are flammable. Glazed creosote, the hardest form, is also the most difficult to remove.
The NFPA and CSIA identify creosote buildup as one of the leading causes of chimney fires. A chimney fire can burn hot enough to crack a flue liner, and a cracked liner can allow heat and gases to reach the combustible materials surrounding the chimney inside your walls. That is a structural fire risk, not just a flue problem.
What to do: Do not try to assess or remove heavy creosote yourself. A professional sweep has the tools and training to do it safely and completely. If your inspection from check No. 1 reveals significant buildup, cleaning is not optional.
3. Confirm the Damper Opens and Closes Fully
The damper is the movable plate inside the throat of the chimney, just above the firebox. It controls airflow and should open fully before you light a fire and stay open until every ember is cold and the ashes are completely cool. A damper that only opens partway restricts the draw, which means smoke backs up into the room. A damper that sticks open wastes heat and lets cold air pour into your home between fires.
After a summer of disuse, dampers can corrode, warp, or become stuck due to debris or animal activity above them. Test yours before the season starts, not while standing in a smoke-filled room.
What to do: With the fireplace cold, reach in carefully and work the damper handle through its full range. It should move freely from fully closed to fully open. If it sticks, grinds, or only partially opens, have a sweep or technician assess it before you light anything. And remember: open it before every fire, and do not close it until the fire is completely out and the ashes are cold.
4. Inspect the Chimney Cap and Screen
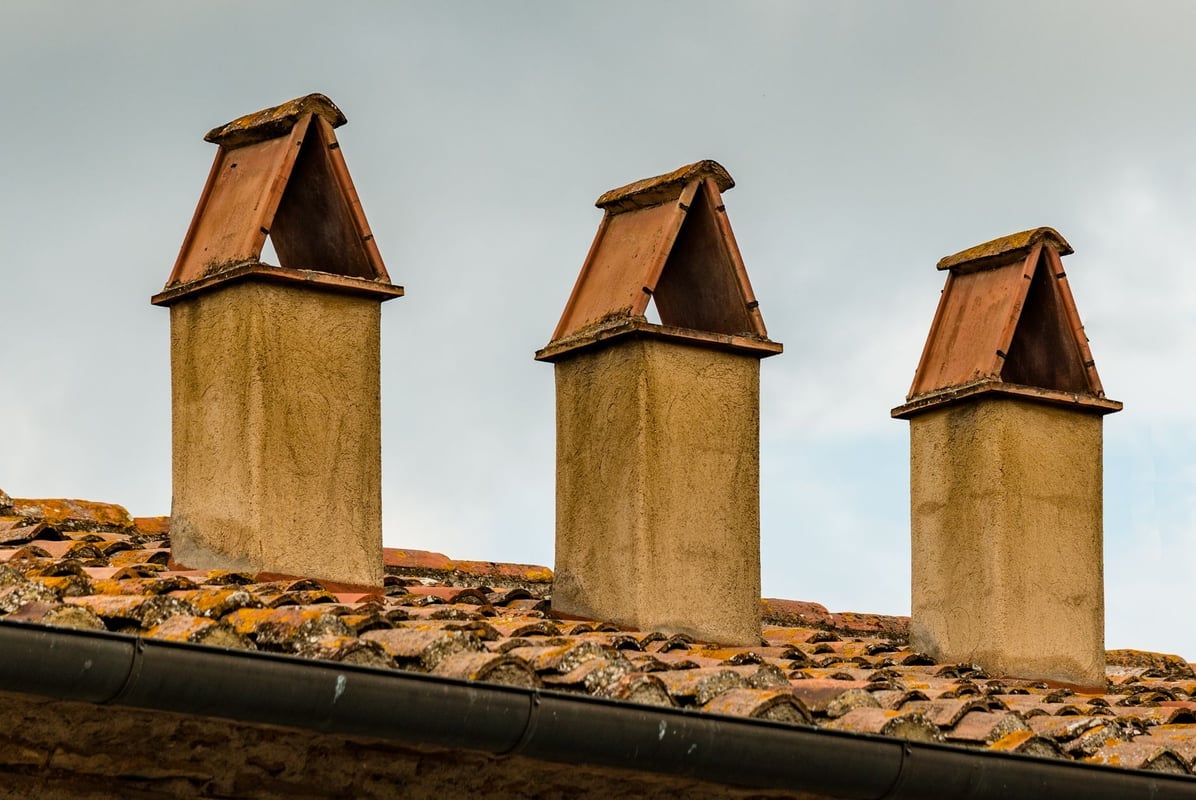
The chimney cap sits at the very top of the flue. It has two jobs: keeping precipitation out of the flue and stopping animals, nests, leaves, and other debris from getting in. Many caps also include a mesh screen that helps prevent sparks from landing on the roof or nearby dry vegetation.
After summer, it is common to find bird or squirrel nests partially or completely blocking the flue just below the cap. A blocked flue means combustion gases have nowhere to go except back into your home. That includes carbon monoxide, which is odorless and can build to dangerous levels quickly in an enclosed space.
What to do: From the ground with binoculars, look at the top of the chimney for a cap that is bent, missing, or visibly blocked. If you can safely access the roof, check that the screen mesh is intact and clear. Otherwise, ask your sweep to check the cap and the top of the flue during the annual inspection. If the cap is damaged or missing, replace it before the first fire.
5. Look Over the Firebox, Glass Doors, and Hearth Area
The firebox is the chamber where the fire actually burns. Over time, the brick and mortar inside can crack from repeated heating and cooling cycles. Gaps in the mortar or cracked firebricks are not just cosmetic. They allow heat to reach areas behind the firebox wall that were never designed to handle it.
Glass doors and metal screens serve a different purpose. They keep sparks and rolling embers from reaching your floor or furniture. A cracked glass door panel needs to be replaced before you use the fireplace. A screen with large holes or gaps is not doing its job.
Beyond the firebox itself, the NFPA and USFA recommend keeping anything that can burn at least 3 feet away from the front of the hearth. That includes furniture, rugs, drapes, decorative items, newspapers, and kindling stored nearby.
What to do: With a flashlight, inspect the firebox walls and floor for cracks or crumbling mortar. Check glass doors for chips or cracks. Make sure your metal screen is intact and fits snugly. Then look at what is within 3 feet of the hearth opening and move it back.
6. Test Your Smoke and Carbon Monoxide Alarms
This check applies to your whole home but becomes especially relevant when you start burning wood. Smoke alarms give you time to get out when a fire starts. Carbon monoxide alarms warn you when the invisible, odorless gas produced by incomplete combustion is building to dangerous levels in your living space.
The NFPA recommends testing smoke alarms monthly and replacing batteries at least once a year, or installing alarms with sealed, long-life batteries. The CPSC and NFPA both recommend installing carbon monoxide alarms outside each separate sleeping area and on every level of the home. Check the manufacture date stamped on the back of each CO alarm. Many last five to ten years, so follow the replacement date the manufacturer gives. CO sensors degrade over time and may no longer respond accurately even if the alarm itself still sounds when you press the test button.
What to do: Press the test button on every smoke and CO alarm in your home right now. Replace any that do not respond. Install a CO alarm on each level and outside each sleeping area if you do not already have them placed that way. Note each unit’s manufacture date so you know when it needs replacing, and replace any smoke alarm that is 10 years old.
7. Use Only Dry, Seasoned Hardwood
What you burn matters as much as how well the chimney is maintained. The EPA’s Burn Wise program specifies that well-seasoned firewood should have a moisture content of 20% or less. Wood that has been split and left to dry for at least six months typically reaches that level, though it depends on the species and storage conditions. Properly seasoned wood is darker at the cut ends, has visible cracks in the grain, feels lighter than green wood, and makes a sharp crack rather than a dull thud when two pieces are knocked together.
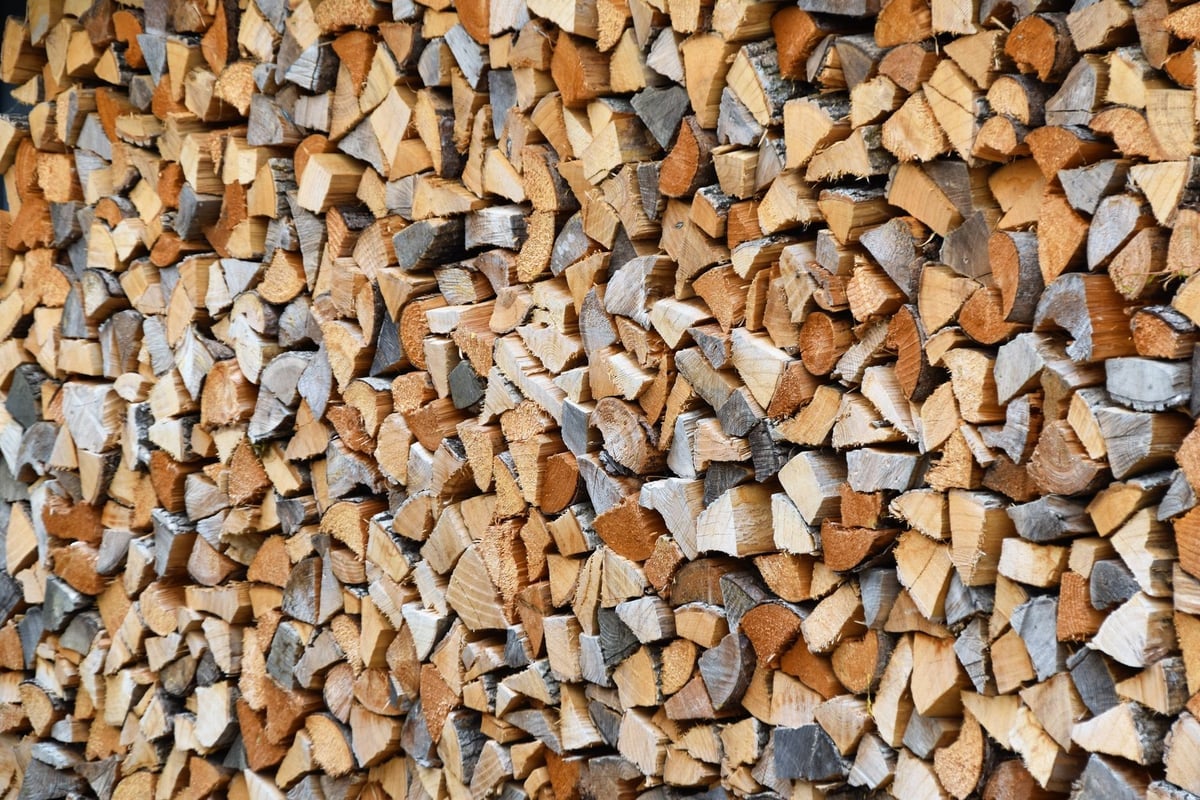
Wet or unseasoned wood burns at a lower temperature, produces far more smoke, and generates creosote at a much higher rate. That accelerates the buildup in check No. 2 and increases the risk of a chimney fire.
Some items should never go in a fireplace under any circumstances. That list includes household trash, cardboard, wrapping paper, and any wood that has been treated, painted, or stained. Those materials release toxic compounds when burned. Gasoline, lighter fluid, and other accelerants should never be used to start or boost a fire in a fireplace. They are not designed for enclosed combustion and can cause a sudden flash or explosion.
What to do: Source your firewood from a reputable local supplier and ask when it was cut and split. Store it off the ground, stacked loosely, and covered on top but open on the sides so air can circulate. Bring only what you plan to burn inside at a time, since wood stored indoors can attract pests.
A Note on Gas Fireplaces
Gas fireplaces do not produce creosote, but they still require annual maintenance. Burners, valves, venting systems, and pilot assemblies all need to be checked for proper operation and safe venting. The NFPA recommends that gas appliances and their venting also be inspected at least annually by a qualified technician.
A Few More Safety Points Worth Knowing
Ash Disposal
Ashes can hold enough heat to ignite combustibles for several days after a fire appears to be out. Let ashes cool completely before handling them. Then scoop them into a metal container with a tight-fitting lid. Keep that container outside, at least 10 feet from your home and from any other combustible material, until you are ready to dispose of the ash properly. That is the guidance from both the NFPA and the USFA. Never put ashes in a cardboard box, paper bag, or plastic bin.
Never Leave a Fire Unattended
Do not go to bed with a fire burning, even a low one. Do not leave the room for an extended period while the fire is active. It only takes one airborne ember to reach a rug or a piece of furniture. Keep children and pets back from the hearth at all times, since the surround, the glass doors, and the hearth itself can remain hot long after the fire has died down.
Know the Signs of a Chimney Fire
Chimney fires do not always announce themselves as an obvious house fire. Some burn hot and fast and are immediately alarming. Others smolder. The signs to watch for include a loud cracking or popping sound coming from the chimney, a low roaring sound similar to a distant train, dense smoke filling the room, or an unusually intense hot smell. If you notice any of those, get everyone out of the house immediately and call 911 from outside. Do not attempt to fight a chimney fire yourself.
Quick-Reference Checklist
- Annual chimney inspection: Booked with a qualified professional (CSIA-certified sweep is one option) before first use each season.
- Creosote: Swept and removed by a pro if any significant buildup is found.
- Damper: Moves freely through its full range, opened before every fire, closed only after ashes are completely cool.
- Chimney cap and screen: In place, undamaged, and free of nests or blockages.
- Firebox, doors, and hearth area: No cracked brick or mortar, screen or glass doors intact, nothing combustible within 3 feet of the hearth opening.
- Smoke and CO alarms: Tested, working, and correctly placed (CO alarms outside each sleeping area and on every level).
- Wood: Dry and seasoned hardwood only, moisture content 20% or below, split and dried at least 6 months. No trash, cardboard, treated wood, or accelerants.
- Ash disposal: Metal container with tight lid, outside, at least 10 feet from the home.
- Never: Leave a fire unattended or go to bed with one burning.
- Chimney fire signs: Cracking, popping, roaring, dense smoke, intense heat smell. Get out and call 911.
The information in this article is for general informational purposes only. We are not doctors, medical professionals, lawyers or financial advisors, and nothing on this site is intended as medical, legal or financial advice. Always consult a qualified professional about your own circumstances before acting on any information here. We accept no liability for any loss or damage arising from the use of, or reliance on, the information in this article.
- 0shares
- Facebook0
- Twitter0
- Pinterest0